How to replace a rotted deck board safely
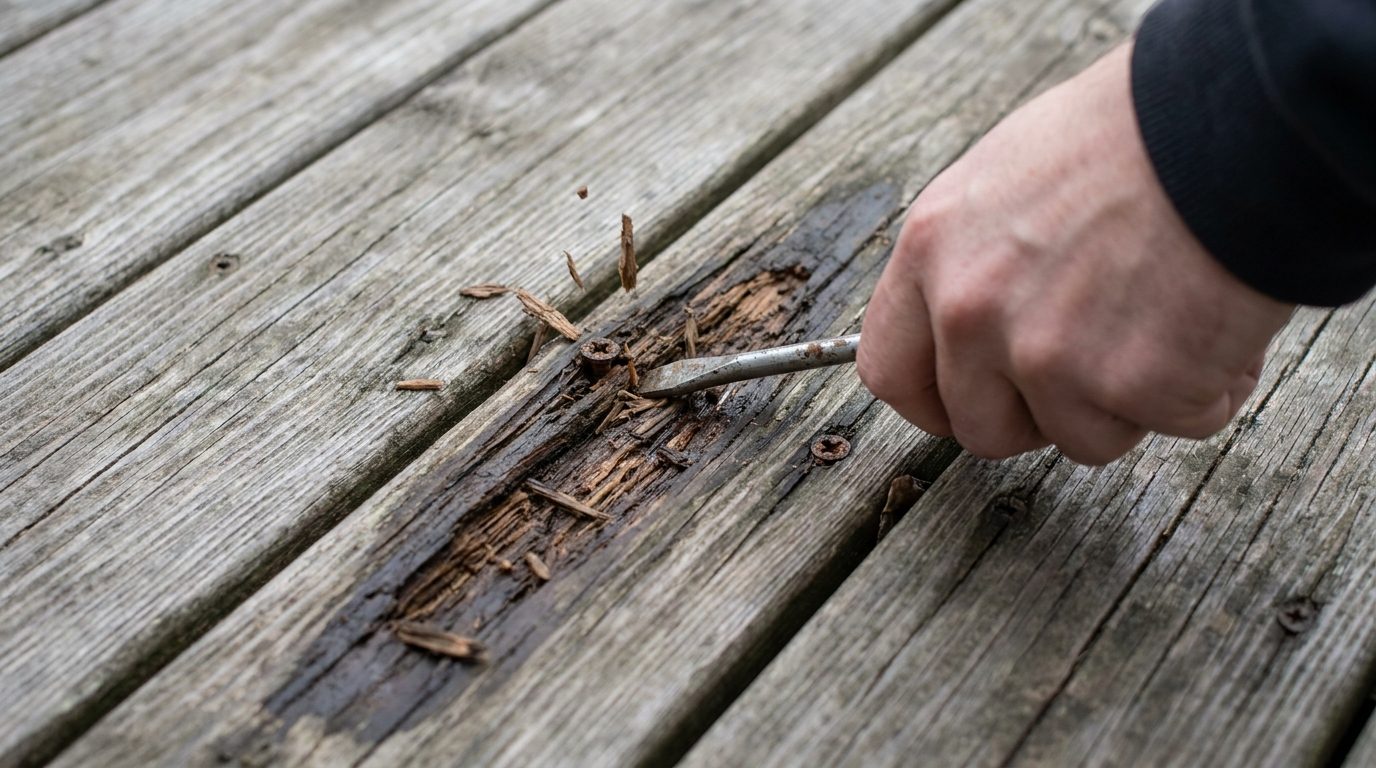
One soft board is rarely one soft board. Before you cut anything, take a screwdriver and probe around, because the board rotted for a reason and the reason is usually still there.
Probe first
Push the screwdriver into the suspect board. If it sinks in easily, that is rot.
Now probe the joists underneath, particularly the top edge where the board sits, and the ledger board where the deck meets the house.
The ledger is the critical one. A ledger that has rotted or whose fasteners have corroded is how decks collapse, and they collapse with people standing on them. If the ledger is soft, or if it is attached with nails rather than proper structural fasteners, stop and get somebody who does this professionally to look at it.
I am not being cautious for the sake of it. Deck failures are almost always at the ledger connection.
Also check the posts at ground level and the stair stringers.
Removing the board
Find the fasteners. Screws come out with a driver, and if the heads are stripped, an extractor bit.
Nails are harder. A cat's paw or a pry bar, working from the end, levering against a scrap of wood so you do not damage the neighbouring board.
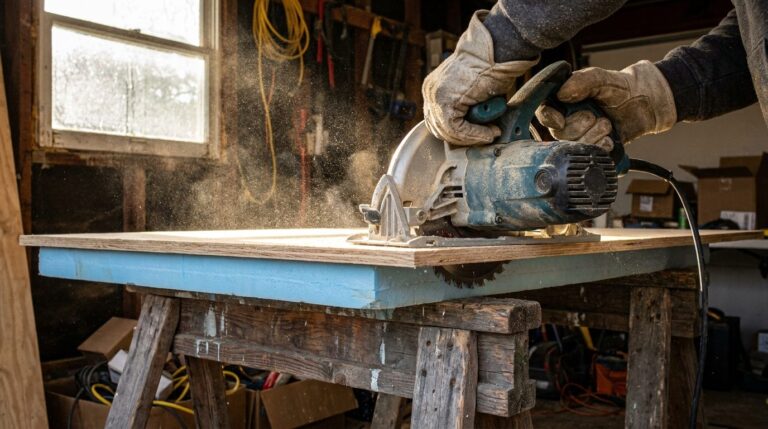
If the board is long and only part of it is bad, cut it at the centre of a joist so both the piece you remove and the piece that stays have support. Set the circular saw to just the board thickness so you do not cut into the joist beneath.
Then check the joist
With the board off you can see properly.
Surface discolouration is usually fine. Soft wood you can push into with a screwdriver is not.
A joist with rot only on the top surface can sometimes be saved by scraping back to sound wood, treating it with a wood preservative, and fitting a joist cap, which is a self adhesive flashing tape along the top edge. That tape is cheap and it is the single best thing you can do to make a deck last, because water sitting on top of the joist is what rots it.
A joist that is soft through its depth needs sistering, which means bolting a new joist alongside the old one, or full replacement. That is a bigger job and it needs doing properly.
The new board
Match the thickness and the width to what is there. Deck board dimensions have changed over the years and a modern board may not match an old one.
Match the material. If the deck is pressure treated, use pressure treated. If it is a composite, use the same product, and be aware the colour will not match until the new piece has weathered, which takes a season.
Let pressure treated timber dry for a few weeks before staining, and check the board for crown, which is the slight curve across the width. Fit it bark side up, crown up, so water runs off rather than pooling.
Fasteners
Use exterior rated fasteners, stainless or hot dipped galvanised, and use the ones rated for treated timber. Modern pressure treatment is corrosive to ordinary fasteners and a regular screw will fail in a few years.
Predrill near the ends of boards so they do not split.
Two fasteners per joist.
Leave a gap between boards for drainage and for expansion. An eighth of an inch is typical for timber, and composites have their own specified gap which you should follow, because they move more with temperature than wood does.
Safety while you work
Support anything you have cut before you cut it.
Do not stand on the board you are removing, which sounds obvious and is exactly how people go through.
If more than a board or two is bad, rope the area off so nobody walks on it while you are working out what to do.
And treat cut ends of pressure treated timber with an end cut preservative, because the treatment does not penetrate all the way through and a bare cut end is where the next rot starts.